
Objects on their own layers
The model, Qwen Image Layered via fal, typically returns the subject, the background and distinct objects such as a chair, a car or a person as separate transparent PNG layers. You choose 2 to 8 layers per run.
AI splits your photo into transparent layers, usually the subject, the background and separate objects. To remove unwanted objects, hide or delete their layers in any PSD editor; the background underneath is usually already filled in.
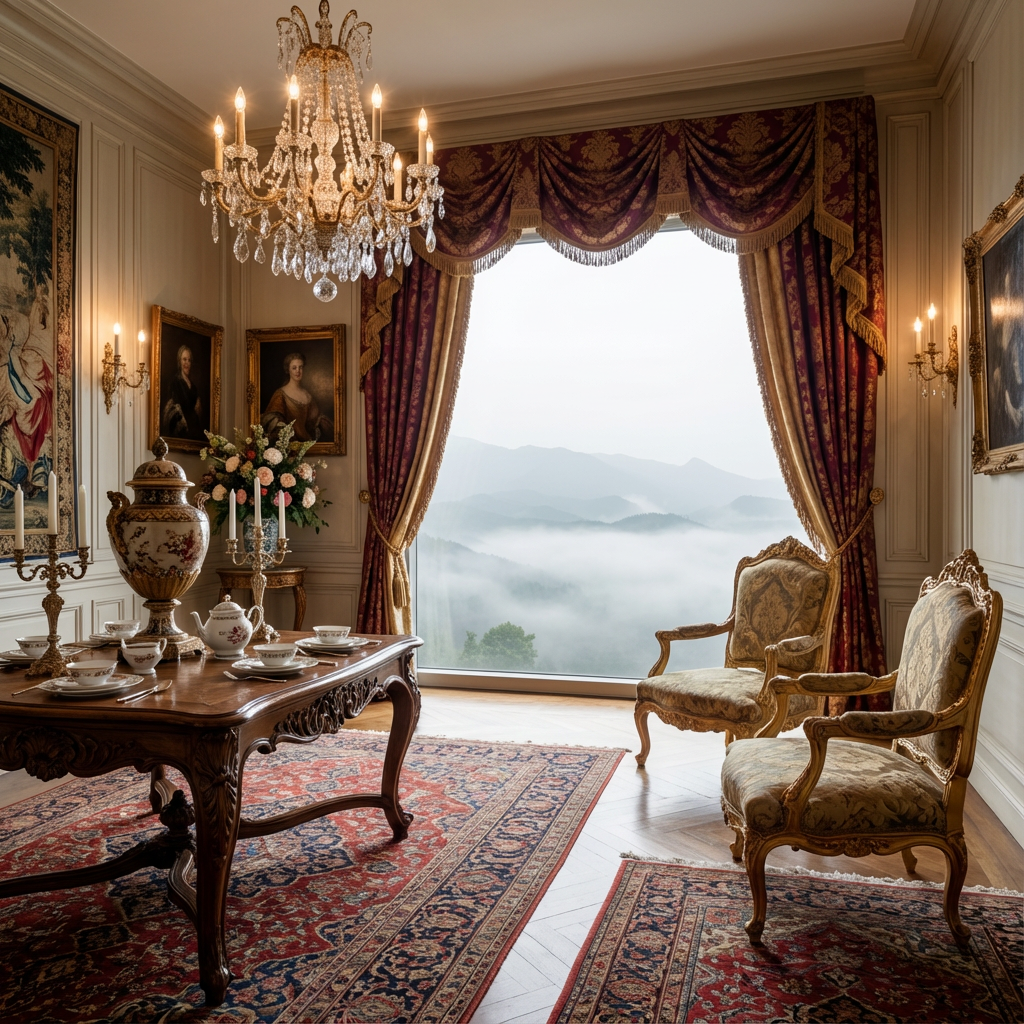 Original
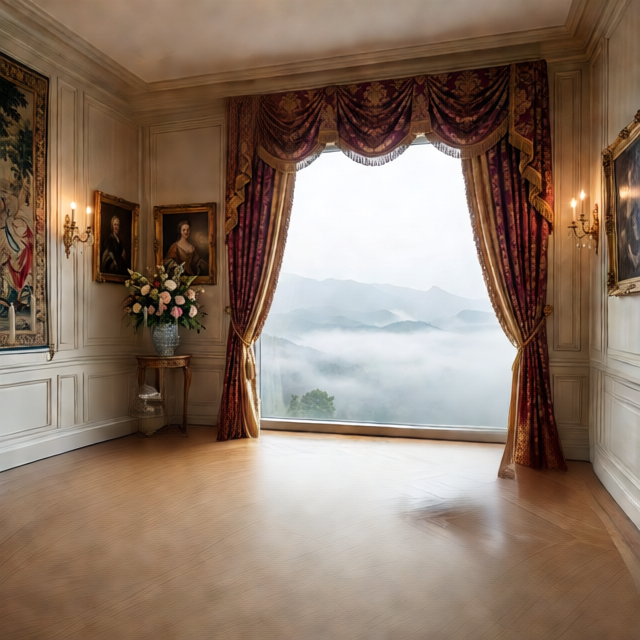 Layer 1
Click or drag an image here
Sign in to upload your image
Layer count
Free accounts can use up to 4 layers; subscribers get up to 8.
Layer-based cleanup
Most object removal apps ask you to brush over the problem and hope the patch blends in. This tool works the other way round: AI separates the photo into layers first, and you remove unwanted objects by deleting their layers in your editor.
The model, Qwen Image Layered via fal, typically returns the subject, the background and distinct objects such as a chair, a car or a person as separate transparent PNG layers. You choose 2 to 8 layers per run.
The background layer usually comes back with the area behind foreground objects already filled in, so hiding an object reveals a plausible scene instead of a hole. Results vary by image, so check the preview.
You make the final removal in Photoshop, Photopea, GIMP or Affinity. Hiding a layer is non-destructive: nothing is painted over, so you can switch the object back on whenever you change your mind.
Split the photo into layers, open the PSD in an editor, and delete or hide the layer that holds the unwanted object. The background layer beneath is usually already filled in. It is one more step than a brush tool, but the edit stays reversible and you decide exactly what goes.
Step by step
To remove unwanted objects this way you need an account, a JPG, PNG or WebP of up to 12 MB, and an editor that opens PSD files; Photopea works in a browser tab. Processing usually takes one to five minutes.


Sign in, upload the image and pick a layer count. More layers give a small object a better chance of getting its own layer. Free accounts go up to 4 layers, subscribers up to 8.
Preview each transparent layer. When the object you want gone sits on a layer of its own, export the layered PSD, or a PNG ZIP if you prefer to rebuild the image elsewhere.
Open the PSD, hide or delete the object layer, and check the background underneath. Then export a flat JPG or PNG from the editor for wherever the photo is going.
Common cleanups
People remove unwanted objects from photos for a handful of recurring reasons. Layer-based removal works best on distinct things with clear edges, like the four below.
A tourist behind your portrait or a passer-by at the edge of a landscape often separates from the scene, so you can hide that layer and keep the view.
In interior and real estate photos, a chair, a lamp or a stack of boxes can come back as its own layer, which gives you a tidier room without restaging the shoot.
Take a stand, a prop or a second item out of an ecommerce photo while the product and its shadow stay on their own layers for further editing.
Street and travel photos pick up vehicles, trash bins and sign boards. When one of them is separated, deleting its layer usually leaves a filled background behind it.
Honest limits
Deleting a layer is precise when the model has isolated the object, and no help when it has not. Knowing the difference before you upload saves credits.
People, furniture, vehicles, products and props that stand apart from the background are the likeliest to land on their own layer, where removing them in your editor comes down to one delete.
Dust spots, small date stamps, thin wires and objects that share colors with the background often stay merged. There is no brush or healing tool here, so those need a touch-up in your editor.
Layers come back at the model’s working resolution, so a 1024×1024 upload returned 640×640 layers. For large prints, finish the cleanup on your original file instead.
Object removal
Upload the photo, let the AI split it into 2 to 8 transparent layers, and export a layered PSD. Open it in Photopea, Photoshop or GIMP, then delete or hide the layer that holds the object. The background layer underneath is usually already filled in.
Brush tools blend new pixels into the old ones, which is where smudges and repeated textures come from, and the change is baked into the photo. Deleting a separated layer blends nothing into its surroundings and can be undone. The fill behind the object is still a prediction, so check it at full zoom.
No, and that is deliberate. The AI does the hard part, separating objects onto their own layers, but the final delete happens in your editor. You choose what goes, and because nothing is painted over, you can restore the object at any time.
There is no mobile app. The tool is a website: you sign in and upload through a browser, then finish the removal in a PSD editor. Deleting and checking layers is far easier on a laptop or desktop screen.
In most results the background layer already holds a plausible fill where the object stood, so the scene continues. The fill is predicted rather than recovered, and results vary by image, so zoom in on that area before you publish.
Small or low-contrast objects are often merged into the background or grouped with a neighbor. Try a higher layer count, or crop the photo closer to the object before uploading. Each new run costs 10 credits.
Yes, if the model placed them on separate layers. A run returns up to 8 layers for subscribers and up to 4 on a free account, so you can hide a person, a chair and a sign from the same export.
Only when the model puts that element on its own layer, which is likelier for a large graphic than for a small stamp printed into a corner. There is no brush to paint marks away. Only edit images you own or have permission to change.
No. A cutout keeps one subject and throws the scene away. Here you keep every piece, subject, background and objects, as separate layers, and delete only the parts you do not want while the rest of the photo stays in place.
No. Layers are generated at the model’s working resolution, for example 640×640 from a 1024×1024 upload, and there is no upscaling or enhancement. The result suits web, social and listing images better than large prints.
The tool is free to try. Each run costs 10 credits whatever the layer count, failed runs are refunded automatically, and downloads carry no watermark. Credit packs and subscriptions are listed on the pricing page.
No. Any editor that reads layered PSD files works: Photopea runs free in a browser, and GIMP and Affinity open the file too. You can also download the PNG ZIP and stack only the layers you want to keep in Figma, Canva or a slide tool.
Not yet. There is no batch processing or API, so to remove unwanted objects from many photos you upload and process each one as its own run.
Yes. Uploaded images and the generated layers are kept in cloud storage so you can preview and download them. Read the privacy policy before uploading anything sensitive.
Sign in, upload a JPG, PNG or WebP, and remove unwanted objects by hiding the layers the AI puts them on. The background underneath is usually filled in, though results vary by image.