
The item on its own layer
The product usually lands on its own transparent PNG layer, so one shot can move from a plain listing background to a lifestyle scene or a promo banner without tracing a new cutout by hand each time.
Upload a product shot and AI splits it into transparent layers, usually the item, its background, and shadows or props. Preview every layer, export a layered PSD or a PNG ZIP, and finish your product photo editing in the software you already use.
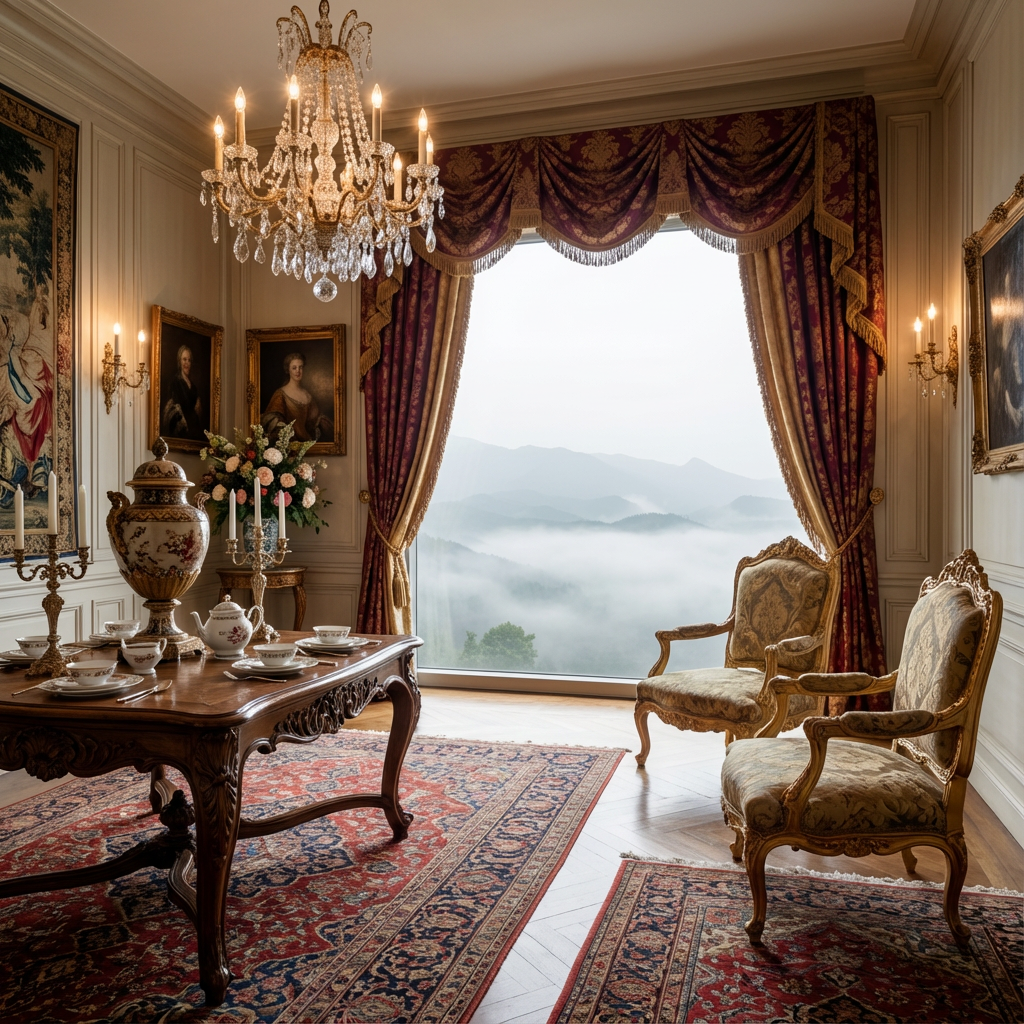 Original
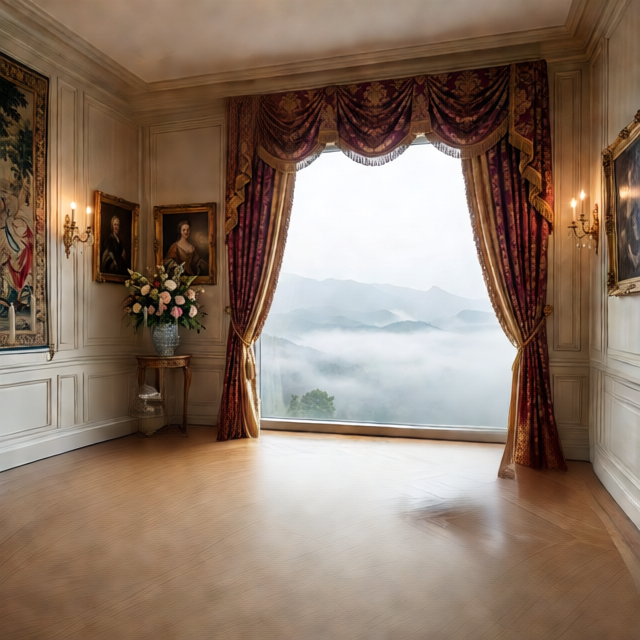 Layer 1
Click or drag an image here
Sign in to upload your image
Layer count
Free accounts can use up to 4 layers; subscribers get up to 8.
Ecommerce editing
Most product photo editing time goes into one chore: cutting the item away from its surroundings before any real change can happen. The AI does that split for you, so you open a stack of transparent layers instead of a flat JPG.
The product usually lands on its own transparent PNG layer, so one shot can move from a plain listing background to a lifestyle scene or a promo banner without tracing a new cutout by hand each time.
When a photo shows a clear contact shadow or reflection, the model often puts it on a separate layer. Keep it to ground the item on a new backdrop, lower its opacity, or hide it for a clean floating look.
Because every layer stays editable, a single photo can feed square marketplace tiles, storefront banners, social ads and comparison graphics. You rebuild each crop in your editing app instead of booking another shoot.
Product photo editing is the work done to a shot after the camera: cleaning up the backdrop, adjusting shadows, changing the background color, cropping for each marketplace and building ad variants. This tool handles the slowest step, separating the item from everything around it, and leaves the creative decisions to you.
Editing workflow
Layered product photo editing needs no brush and no masking. You upload the shot, choose a layer count and open the result in the editor you already know. Processing usually takes one to five minutes, and a run costs 10 credits whatever the layer count, with failed runs refunded automatically.
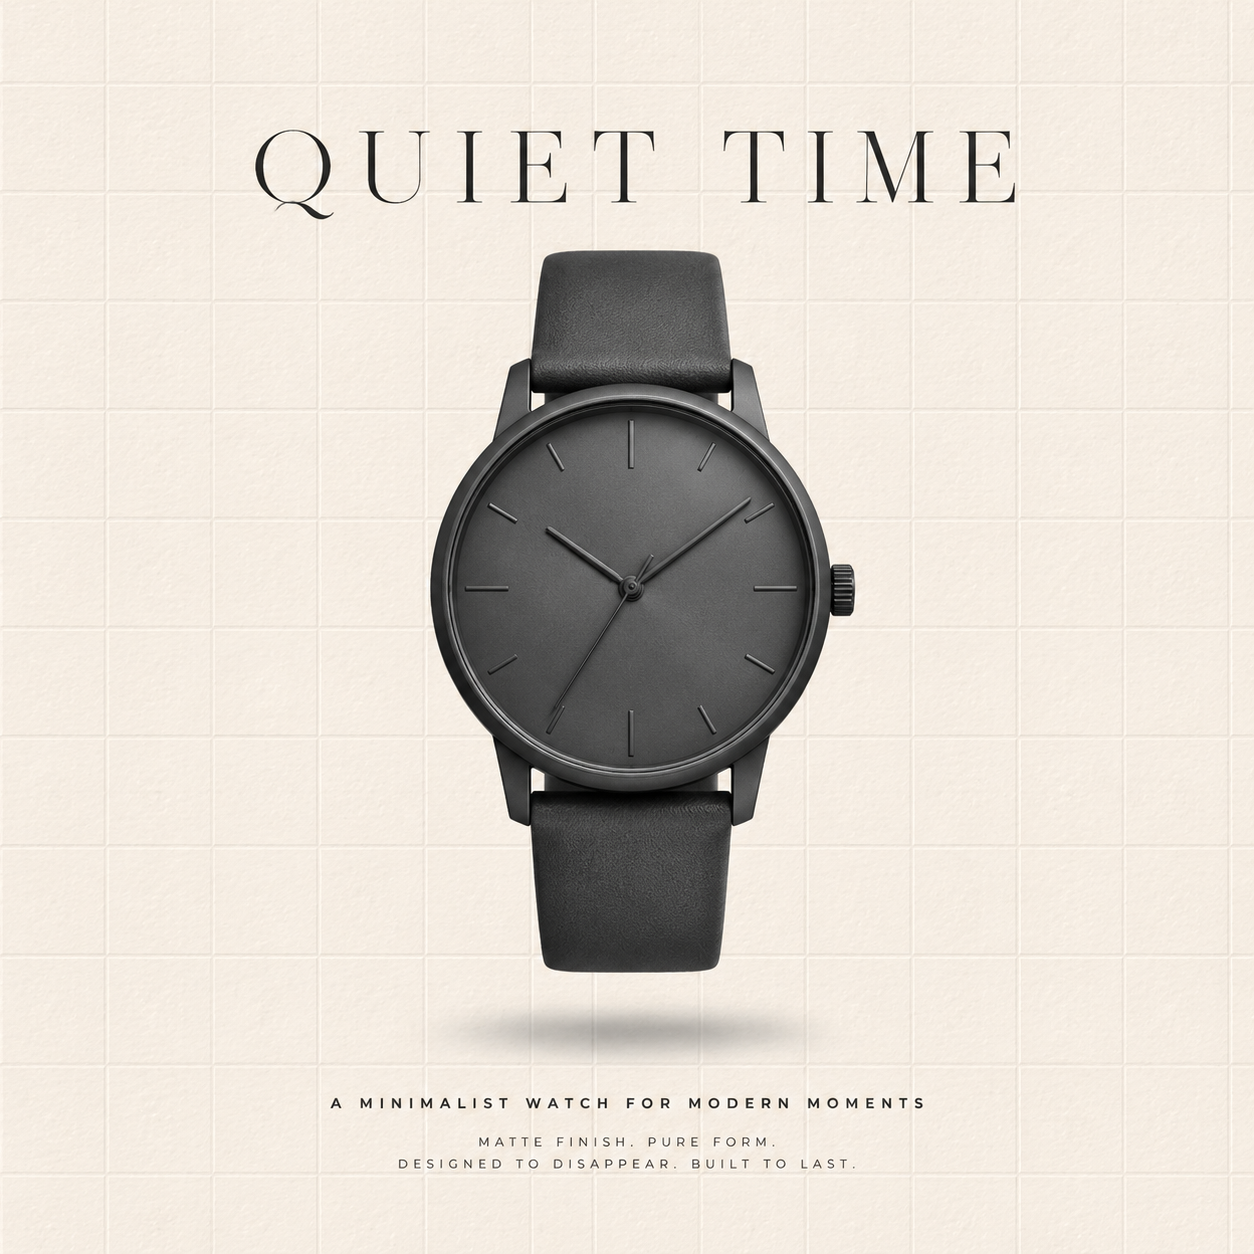
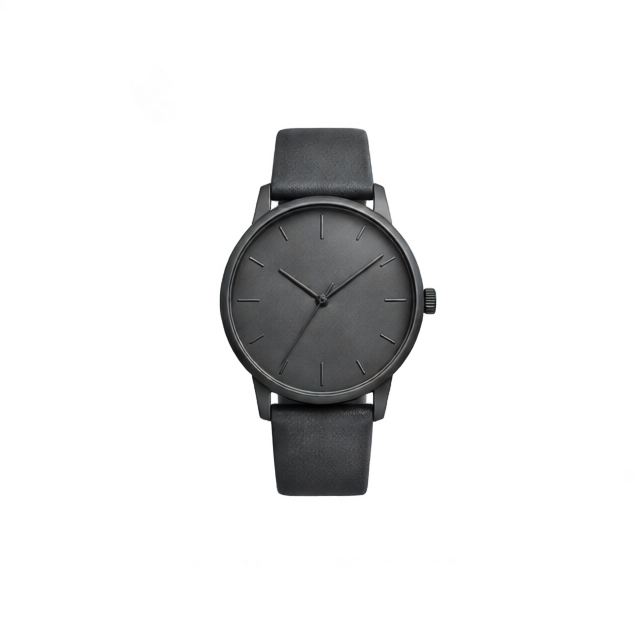
Sign in and upload a JPG, PNG or WebP of up to 12 MB. Studio shots on a plain backdrop and styled lifestyle photos both work; clear edges and even light give the cleanest layers.
Two or three layers usually give you item and background. Higher counts can pull shadows, props or packaging parts apart. Free accounts go up to 4 layers and subscribers up to 8.
Check each layer in the preview, then download a layered PSD for Photoshop, Photopea, GIMP or Affinity, or a ZIP of transparent PNGs. Downloads carry no watermark.
Store and ad use cases
Ecommerce product photo editing repeats the same few jobs across a whole catalog. These are the ones where having the item, its shadow and the background on separate layers saves the most time.
Place the item layer on a plain white or light-gray canvas for Amazon, Shopify, Etsy or eBay listings, then check each marketplace’s own rules for margins and background color before you publish.
Drop the item into new ad layouts at different sizes while its shadow and props stay adjustable, so one photo can cover feed, story and banner placements.
Try solid colors, gradients or new lifestyle backdrops behind the same item layer, and compare options without cutting the product out again for each version.
Combine layers from several shots into bundle images, size comparisons, feature callouts and seasonal campaign art, with every item still movable.
Best fit
Splitting a shot into layers is a head start on product photo editing, not a finished retouch. Check the fit before you spend credits on an image.
Packaging, cosmetics, gadgets, footwear, furniture and jewelry, in studio or styled lifestyle photos, where the item, its shadow and the background each need different treatment.
It does not remove dust, correct color, sharpen detail or raise resolution. Layers come back at the model’s working resolution (a 1024×1024 upload returned 640×640 layers), so keep your original file for large zoom images.
RGBA PNG layers you preview in the browser, then a layered PSD or a ZIP of PNGs. Nothing is flattened, so all later editing stays reversible.
Editing questions
For the cutout, often yes: the AI separates the item, background and shadow in minutes, which is the step that takes longest by hand. Color correction, retouching and final layout are still yours, so treat the layers as a fast start to product photo editing rather than a finished listing image.
Color matching across a catalog, dust and scratch cleanup, glare on glossy packaging and the final crop all still need someone in an editor. The AI layers take away the tedious cutout, not the judgment calls about how the product should look.
Let the AI do the cutout, then keep the rest of your product photo editing simple: hide the background layer, add a color fill underneath, move or resize the item. Photopea runs free in a browser if you do not own Photoshop, and it opens the layered PSD directly.
The item and the background usually separate well when edges are clear. Shadows, reflections and props often get layers of their own too, but results vary by image, so preview every layer before exporting and try another layer count if the split is off.
Start with 2 or 3 for a single item on a simple backdrop. Go higher when the photo has props, several products or a strong shadow you want isolated. Free accounts can choose up to 4 layers and subscribers up to 8.
Yes. Place the item layer on the background your marketplace asks for and export from your editor. The tool does not make an image compliant by itself, so check size, margin and background rules for each store.
Yes, in your editor. There is no background-swap button in the app. Instead, hide the original background layer in the PSD and place a color, gradient or new photo underneath the product and shadow layers.
Label text stays as pixels inside the product layer, not as editable type. Large print usually survives well, but very fine text can soften at the model’s working resolution, so zoom in on the preview before relying on it.
Layers come out at the model’s working resolution rather than your original size: a 1024×1024 upload returned 640×640 layers. There is no upscaling, so keep your full-size photo as the master for hero banners and zoom images.
Upload a JPG, PNG or WebP of up to 12 MB. Download either a layered PSD, which opens in Photoshop, Photopea, GIMP and Affinity, or a ZIP of transparent PNG layers for tools that cannot read PSD files.
It is free to try. Each run costs 10 credits no matter how many layers you choose, and credits for a failed run are refunded automatically. Credit packs and subscriptions are listed on the pricing page.
Usually one to five minutes per image. The layers appear in the preview as soon as the run finishes, and you can export the PSD or PNG ZIP straight away.
Not at the moment. There is no batch upload or API, so each photo is its own run. For large catalogs, start with hero images and best sellers, where editing with layers pays off most.
No. The PSD and the PNG layers download without a watermark, ready for listings and ads once your edits are done.
In most cases, yes. A real contact shadow makes the product sit on its new background instead of floating above it. You can soften, lighten or hide the layer later, and nothing is lost if you change your mind.
Yes. Uploads and the generated layers are kept in cloud storage so you can preview and download them. If you shoot unreleased products, read the privacy policy before uploading.
Sign in, upload a JPG, PNG or WebP, and preview the transparent layers the AI returns, usually the item and its background. Export a layered PSD or PNG ZIP with no watermark, and finish your product photo editing in the editor you already use.