Separate Image Into Layers with AI

Upload one flat JPG, PNG or WebP and get it back as 2 to 8 separate transparent layers, typically the subject, the background, and shadows or objects. Preview each one, then download a layered PSD or a ZIP of PNG files.

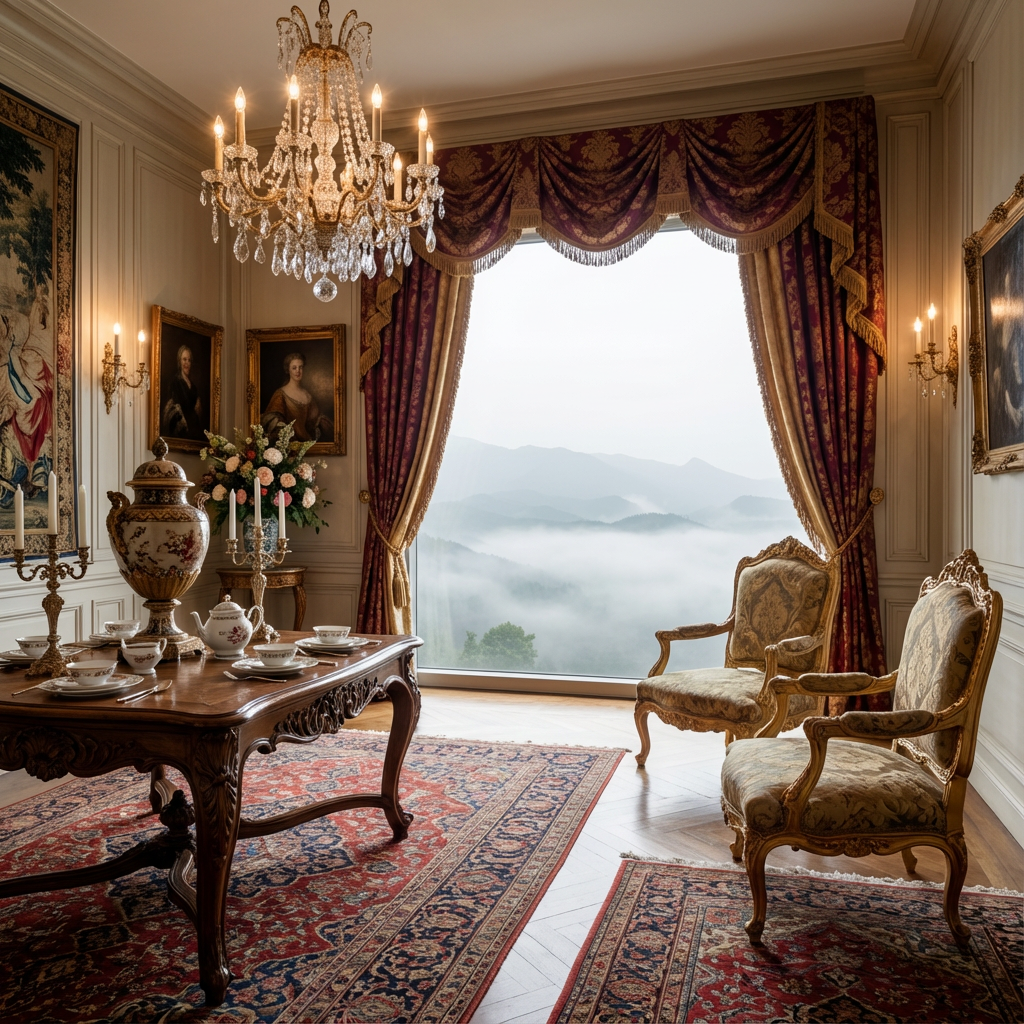
Example original photo before it is split into layersOriginal
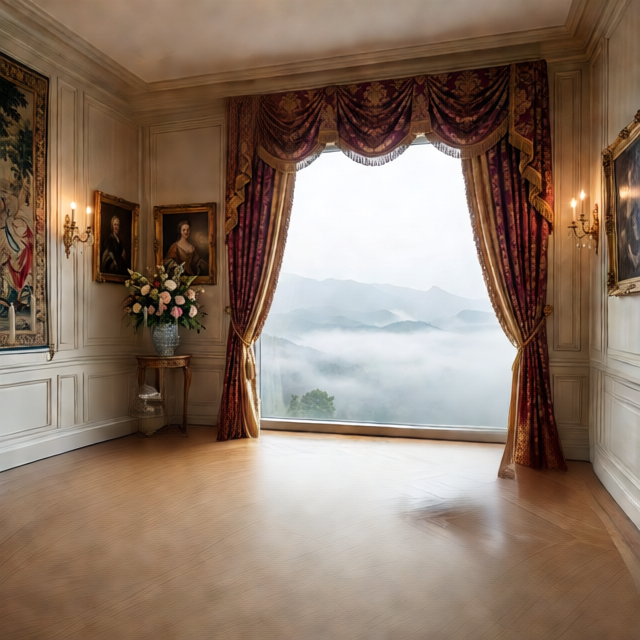
Layer 1Layer 1

Click or drag an image here

Sign in to upload your image

Layer count

Free accounts can use up to 4 layers; subscribers get up to 8.

4
Sign in to generate10 credits
  • JPG · PNG · WebP
  • Up to 12 MB
  • No watermark
  • Layered PSD + PNG ZIP
  • 2–8 layers per image
  • About 1–5 minutes
  • Failed runs refunded

How it works

Separate image into layers you can move, hide and recolor

A cutout keeps one subject and throws the rest away. Here the whole picture survives: an AI model writes each major part to a separate transparent PNG, and the separated parts line up again when stacked. Photos, posters, product shots, illustrations and AI-generated images all work.

  • Regions chosen by the model

    You set how many layers to ask for, from 2 to 8, and the model decides where the boundaries fall. It usually gives the main subject its own layer, keeps the background as a separate plate, and separates out shadows or smaller objects when the count allows.
  • Preview before you download

    Results appear next to the original, with a thumbnail strip for clicking through the stack, so you see what was separated before exporting. The preview shows the same files you download, none of them watermarked.

  • PSD or PNG ZIP export

    Take a ZIP of numbered PNGs when each part should stay a separate file, or one layered PSD that opens in Photoshop, Photopea, GIMP or Affinity with the stack in order and the background at the bottom.

Quick answer: separate image into layers

Sign in, upload one JPG, PNG or WebP of up to 12 MB, pick a layer count and start the run. One to five minutes later you get separate transparent RGBA PNGs that stack up to recreate the original picture, ready to export as a layered PSD or a PNG ZIP. Each run costs 10 credits.

Layer stack

Separate image into layers, then check the stack

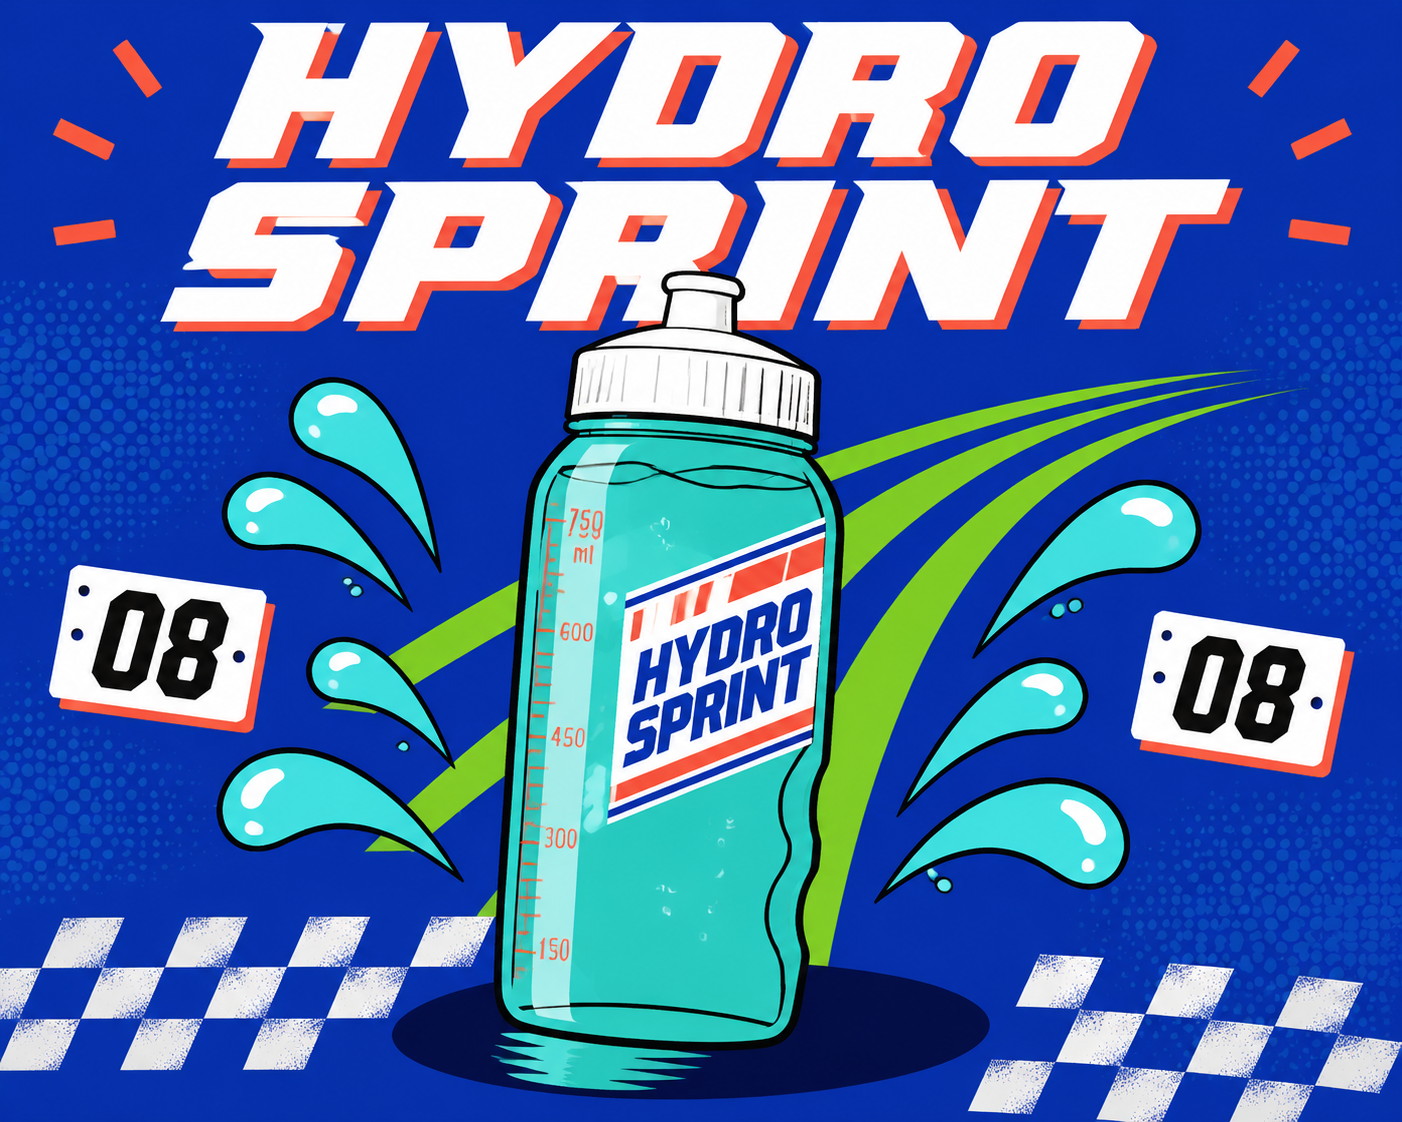
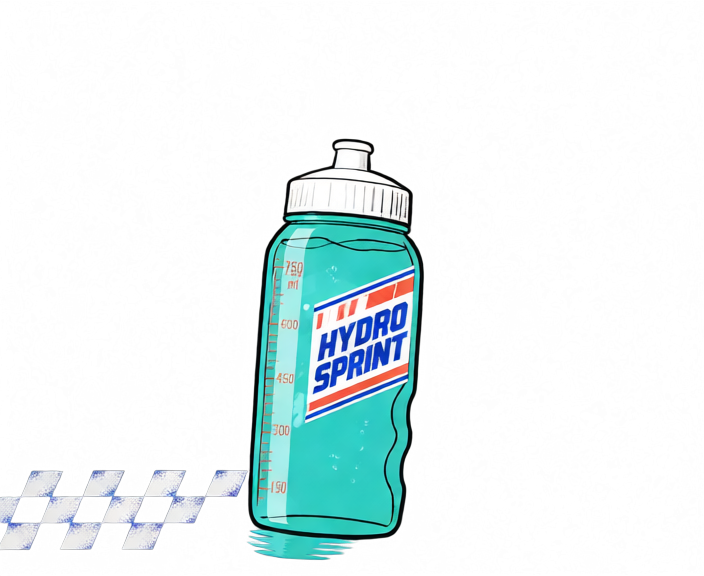
This example started as one flat Hydro Sprint sports-bottle illustration, run at 6 layers; one of its output layers holds the bottle and a checkered strip on an otherwise transparent canvas. Distinct objects with clear edges separate most cleanly, and crowded scenes benefit from a higher count.

Example
Example input: a flat Hydro Sprint sports-bottle illustration with a bold headline, water splashes, 08 number cards and checkered strips
Example input: one flat illustration
Example output layer: the sports bottle and a checkered strip alone on a transparent canvas, with the rest of the picture on other layers
Example output: one of six layers
  1. Upload one flat image

    Sign in and add a JPG, PNG or WebP of up to 12 MB. A subject in front of a background, or a product beside a few props, gives the model the most to work with.

  2. Separate image into layers

    Choose between 2 and 8 layers: free accounts go up to 4, subscribers up to 8. The run costs 10 credits at any count, and a failed run is refunded automatically.

  3. Review, then export

    Click through every result, then download a layered PSD or a PNG ZIP. If the split is too coarse or too busy, change the count and run the image again.

Use cases

Split image into layers for design, motion and localization

One run serves very different jobs. These four come up most often.

  • Rework posters and social graphics

    Separate the headline, the main image and the backdrop so a layout can be resized or rearranged. Where text lands on its own layer it is pixels, not live type, so plan to retype any wording that changes.

  • Separate image into layers for parallax

    Separated foreground, subject and background layers are raw material for parallax scrolls, 2.5D camera moves and short clips. The background usually comes back with the area behind the subject filled in, so sliding the parts apart leaves fewer holes, though results vary.

  • Rebuild flat PNGs from old projects

    When a flattened PNG is the only copy left of an old graphic, the separated layers give you parts to rebuild from. Two or three are enough for a subject on a plain background; busier images need more.

  • Assemble regional and seasonal variants

    With products, badges and backgrounds on separate layers, a new version is faster to assemble in your editor: swap the backdrop, move a badge, or cover an old caption and set the new one by hand.

Best fit

When to separate image into layers, and when not to

Worth it when parts of one picture need to move or change separately; the wrong choice when the job needs something the model does not produce.

  • Use it for

    Scenes with distinct parts

    Photos, posters, product shots and illustrations where the subject, background and props are visually separate. The clearer the edges between them, the cleaner each layer comes out.

  • Avoid when

    You need full-resolution masks

    Output follows the model’s working resolution, not your original’s: a 1024 × 1024 upload returned 640 × 640 layers. For print-size masks or hair-fine edges, work on the full-size original in your editor.

  • Output focus

    Transparent PNGs, or one PSD

    Each run produces one separated stack that exports two ways: a ZIP of numbered PNGs, bottom layer first, or a layered PSD with the background at the bottom and a flattened preview built in.

Layer basics

Separate image into layers: FAQ

Upload the picture here and let the model separate it. The AI runs in the cloud, so a browser is all you need to sign in, upload, preview and download. Photoshop only matters if you pick the PSD export, and Photopea, GIMP and Affinity open that file too.

Ready to separate image into layers?

Sign in, upload one JPG, PNG or WebP of up to 12 MB and choose 2 to 8 layers. Preview every transparent layer, then download a layered PSD or a PNG ZIP with no watermark.